
Common Mistakes When Installing Crawl Space Moisture Barriers and How to Fix Them
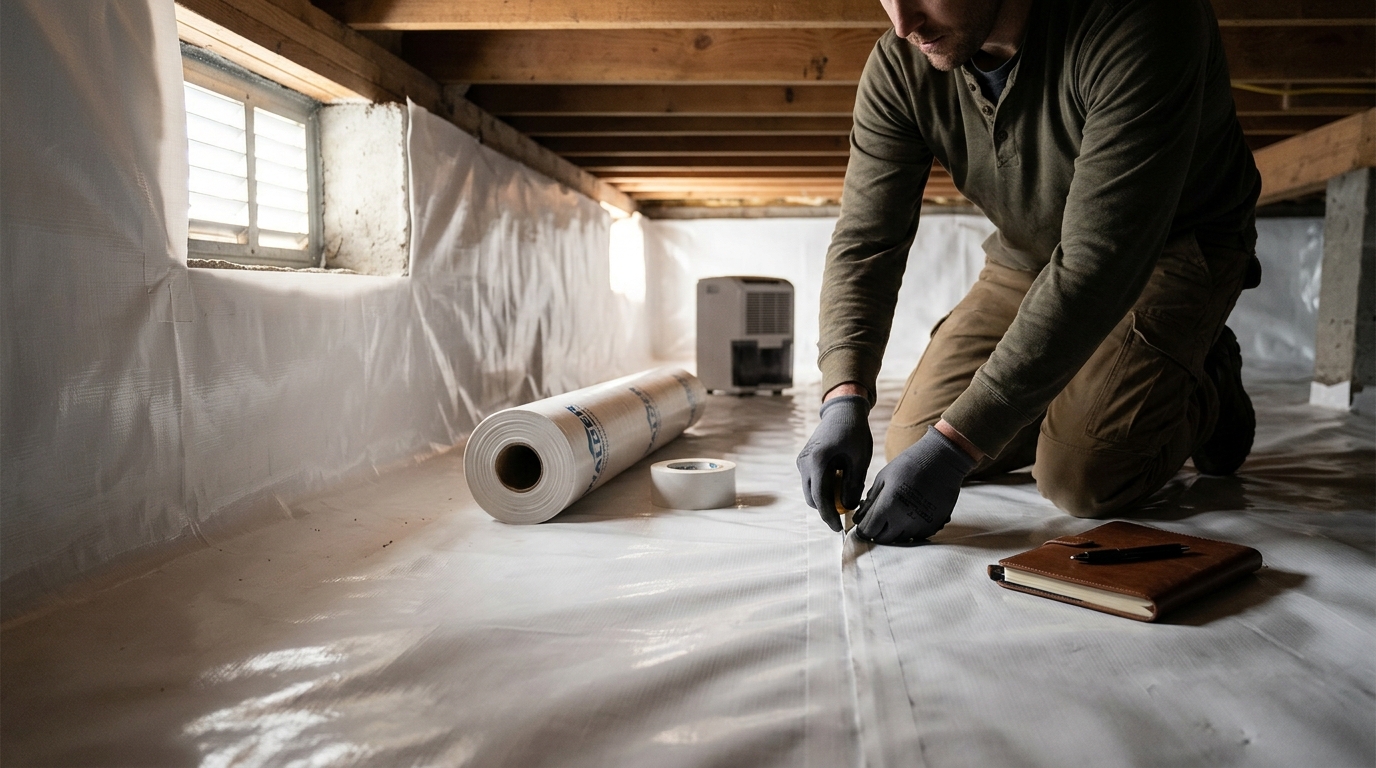
Crawl space encapsulation is no longer a luxury but a structural necessity for modern homes. According to the U.S. Department of Energy, unconditioned crawl spaces can account for up to 50% of the moisture in a home's air, leading to significant structural decay and indoor air quality issues. When homeowners or contractors attempt to install moisture barriers without a precise plan, the results are often catastrophic. A failed encapsulation job does not just waste money; it traps moisture against foundation walls, accelerating rot and mold growth. This guide details the most frequent installation errors and provides the exact corrective protocols to ensure your crawl space remains dry, durable, and healthy for decades.
Choosing the Wrong Vapor Barrier Thickness
The most critical component of any encapsulation project is the vapor barrier itself. A common mistake is selecting a barrier that is too thin for the specific environmental load of the crawl space. Many DIYers opt for standard 6-mil polyethylene sheeting because it is cheaper and easier to find at local hardware stores. However, 6-mil material lacks the tensile strength to withstand the abrasion of foot traffic, settling soil, and the weight of insulation over time. It tears easily during installation and degrades rapidly under UV exposure if any light penetrates the space.
The industry standard for professional-grade encapsulation is 20-mil or 15-mil reinforced polyethylene. These materials are significantly more puncture-resistant and provide a longer-lasting moisture shield. When you install a thicker barrier, you reduce the frequency of repairs and ensure the integrity of the vapor retarder. At Walder Foundation Products, we recommend using heavy-duty liners like Proseal Liner which are engineered specifically for high-moisture environments. Using a barrier that meets or exceeds local building code requirements for vapor retarders is non-negotiable for long-term success.
Improper Sealing of Seams and Penetrations
Even the thickest vapor barrier will fail if the seams are not sealed correctly. A frequent error is overlapping the seams without using a specialized tape designed for polyethylene. Standard duct tape or generic packing tape loses its adhesive properties quickly in the humid, temperature-fluctuating environment of a crawl space. The tape peels away, leaving gaps that allow ground vapor to migrate into the conditioned living space above.
To fix this, you must use a high-quality, heavy-duty tape specifically formulated for vapor barriers. WFP Pro Tape 9 Mil is an exclusive product designed to bond permanently to polyethylene surfaces. It resists moisture degradation and maintains its seal even when exposed to condensation. Additionally, all penetrations where pipes, wires, or ducts enter the crawl space must be meticulously sealed. Use expanding foam or specialized gaskets to close these gaps. If you leave even a small opening, vapor will bypass the barrier entirely, rendering the encapsulation ineffective.
Failing to Extend the Barrier to Foundation Walls
Many homeowners make the mistake of laying the vapor barrier only on the dirt floor, leaving the foundation walls exposed. This is a critical oversight because foundation walls are a major source of moisture intrusion. Concrete is porous and constantly wicks groundwater from the surrounding soil. If the walls are not covered, the moisture evaporates directly into the crawl space air, creating a humid environment that defeats the purpose of the floor barrier.
The correct installation method requires extending the vapor barrier up the foundation walls and securing it firmly. This creates a continuous thermal and moisture envelope around the entire crawl space. You should use mechanical fasteners or adhesive strips to attach the liner to the concrete or masonry. Ensure that the barrier overlaps the floor liner by several inches and is sealed securely at the junction. This technique prevents moisture from the walls from entering the encapsulated zone. For detailed guidance on wall coverage, review our Wall Vapor Barriers resources.
Ignoring Vent Covers and Air Sealing
Traditional building codes often required crawl spaces to be vented to the outside air. However, modern energy efficiency standards and moisture control science dictate that vents should be sealed. A common mistake is leaving the original foundation vents open after installing the vapor barrier. These vents allow humid outdoor air to enter the crawl space, leading to condensation on the cold vapor barrier and foundation walls. This condensation drips onto the insulation and floor, creating a breeding ground for mold.
To fix this, all foundation vents must be permanently sealed. You can use foam board insulation or specialized Vent Covers to block the openings from the exterior. Ensure that the seal is airtight to prevent any air exchange between the crawl space and the outdoors. This step is crucial for maintaining the efficiency of your dehumidifier and preventing moisture buildup. Sealing the vents also helps to keep pests and debris out of the crawl space, further protecting your home's structural integrity.
Neglecting Integrated Dehumidification
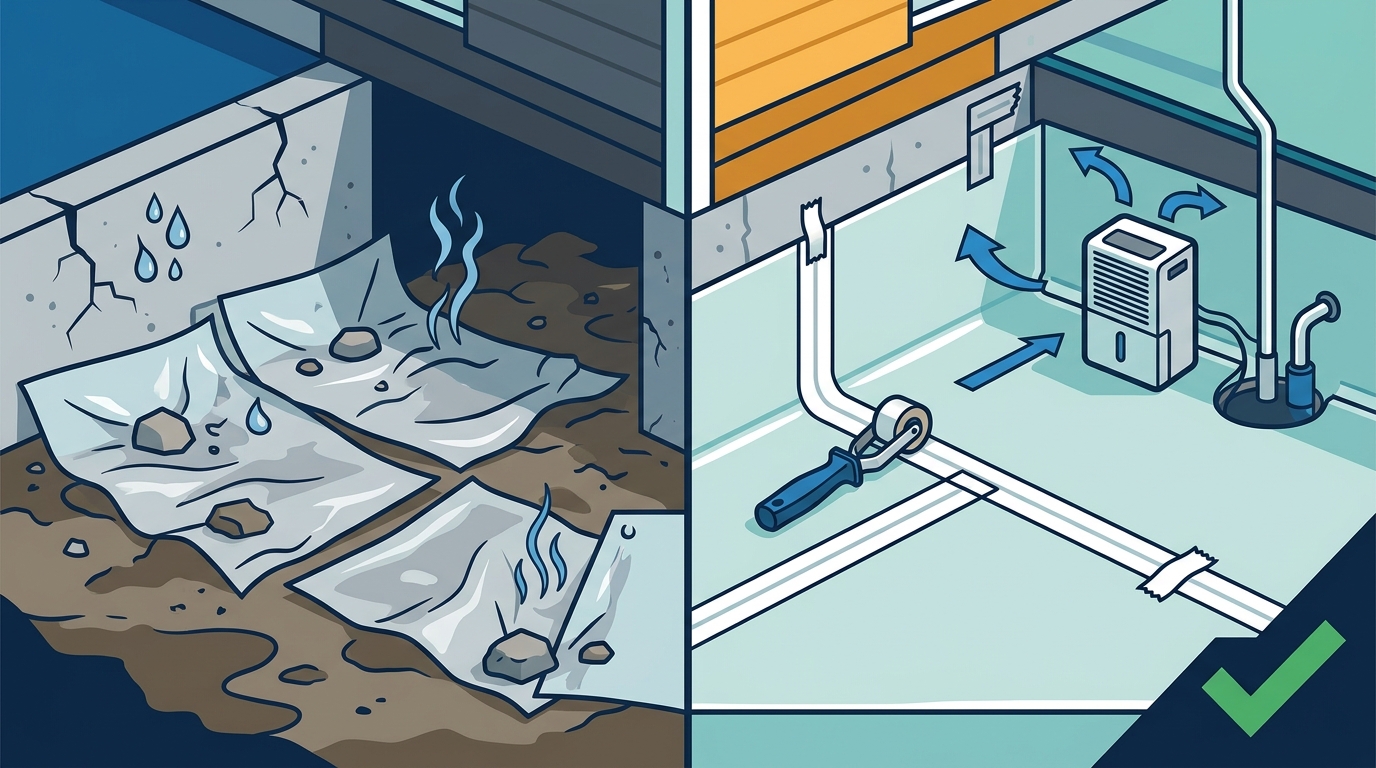
Installing a vapor barrier does not eliminate all moisture sources. Ground vapor can still permeate through the concrete slab or enter through minor imperfections in the seal. Furthermore, household activities like laundry or showering can introduce moisture that migrates downward. A common mistake is assuming that the vapor barrier alone is sufficient to control humidity. Without active moisture removal, the relative humidity in the encapsulated space can still rise to dangerous levels.
The solution is to install a dedicated crawl space dehumidifier. This device actively removes moisture from the air, maintaining a consistent and healthy humidity level. Dehumidifiers such as those from AprilAire or Santa Fe are designed to operate efficiently in the unique conditions of a crawl space. They are built to withstand higher temperatures and humidity levels than standard home dehumidifiers. By integrating a dehumidifier into your encapsulation system, you ensure that the space remains dry even during peak humidity seasons. This proactive approach prevents mold growth and protects your home's air quality.
Overlooking Floor Support and Drainage
Another critical aspect of crawl space maintenance is the structural support of the floor and proper drainage. A common mistake is failing to address settling soil or inadequate drainage around the foundation. If the ground beneath the vapor barrier is not level or if water pools in the crawl space, the barrier can tear or become submerged, leading to immediate failure. Additionally, floor joists that are sagging or rotting due to moisture exposure require immediate attention.
To fix this, ensure that the crawl space floor is graded away from the foundation to direct water toward a sump pump or drainage system. Install Floor Jack Supports to stabilize any sagging floor joists and prevent further structural damage. Use Drainage & Dimple Board to manage water flow and protect the vapor barrier from punctures. Regular inspections of the structural components are essential to identify and address issues before they become costly repairs. For more information on structural repairs, visit our Foundation Wall Repair section.
Key Takeaways
- Barrier Thickness Matters: Always use 20-mil or thicker reinforced polyethylene for durability and puncture resistance.
- Seal Everything: Use specialized tape like WFP Pro Tape for all seams and seal all penetrations to prevent vapor bypass.
- Cover the Walls: Extend the vapor barrier up the foundation walls to stop moisture wicking from the concrete.
- Seal the Vents: Permanently block all foundation vents to prevent humid outdoor air from entering the crawl space.
- Active Dehumidification: Install a dedicated crawl space dehumidifier to manage residual moisture and maintain healthy humidity levels.
- Structural Integrity: Address floor support and drainage issues to protect the vapor barrier and foundation from physical damage.
- Professional Guidance: Consult with experts like Walder Foundation Products for product selection and installation best practices.
Frequently Asked Questions
Can I install a vapor barrier myself?
Yes, DIY installation is possible for homeowners with basic construction skills. However, it requires careful attention to sealing seams and extending the barrier to the walls. Mistakes in installation can lead to costly repairs, so professional consultation is recommended.
How long does a crawl space vapor barrier last?
A high-quality 20-mil reinforced vapor barrier can last 10 to 20 years or more, depending on the installation quality and environmental conditions. Thinner barriers may degrade in just a few years.
Do I need a dehumidifier if I have a vapor barrier?
Yes, a dehumidifier is essential. The vapor barrier blocks ground moisture, but it does not eliminate all sources of humidity. A dehumidifier actively removes moisture from the air, preventing condensation and mold growth.
What is the best tape for sealing vapor barrier seams?
Use a heavy-duty tape specifically designed for polyethylene, such as WFP Pro Tape 9 Mil. Standard duct tape will fail quickly in the humid crawl space environment.
Should I seal the crawl space vents?
Yes, modern best practices recommend sealing all foundation vents to prevent humid outdoor air from entering the crawl space and causing condensation.
How do I know if my crawl space needs encapsulation?
If you notice musty odors, mold growth, or high humidity in your home, your crawl space likely needs encapsulation. A professional inspection can confirm the extent of the moisture problem.
What are the benefits of crawl space encapsulation?
Encapsulation improves indoor air quality, prevents mold growth, protects structural components from rot, and increases energy efficiency by sealing the home's thermal envelope.
Ready to Secure Your Home?
Installing a moisture barrier is a complex process that requires precision and the right materials. Avoid common pitfalls by choosing high-quality products and following professional installation guidelines. Walder Foundation Products offers a comprehensive range of encapsulation supplies, from heavy-duty vapor barriers to specialized tapes and dehumidifiers. Visit our All Products page to find everything you need for a successful project. For expert advice and contractor pricing, contact our team today and take the first step toward a dry, healthy crawl space.