
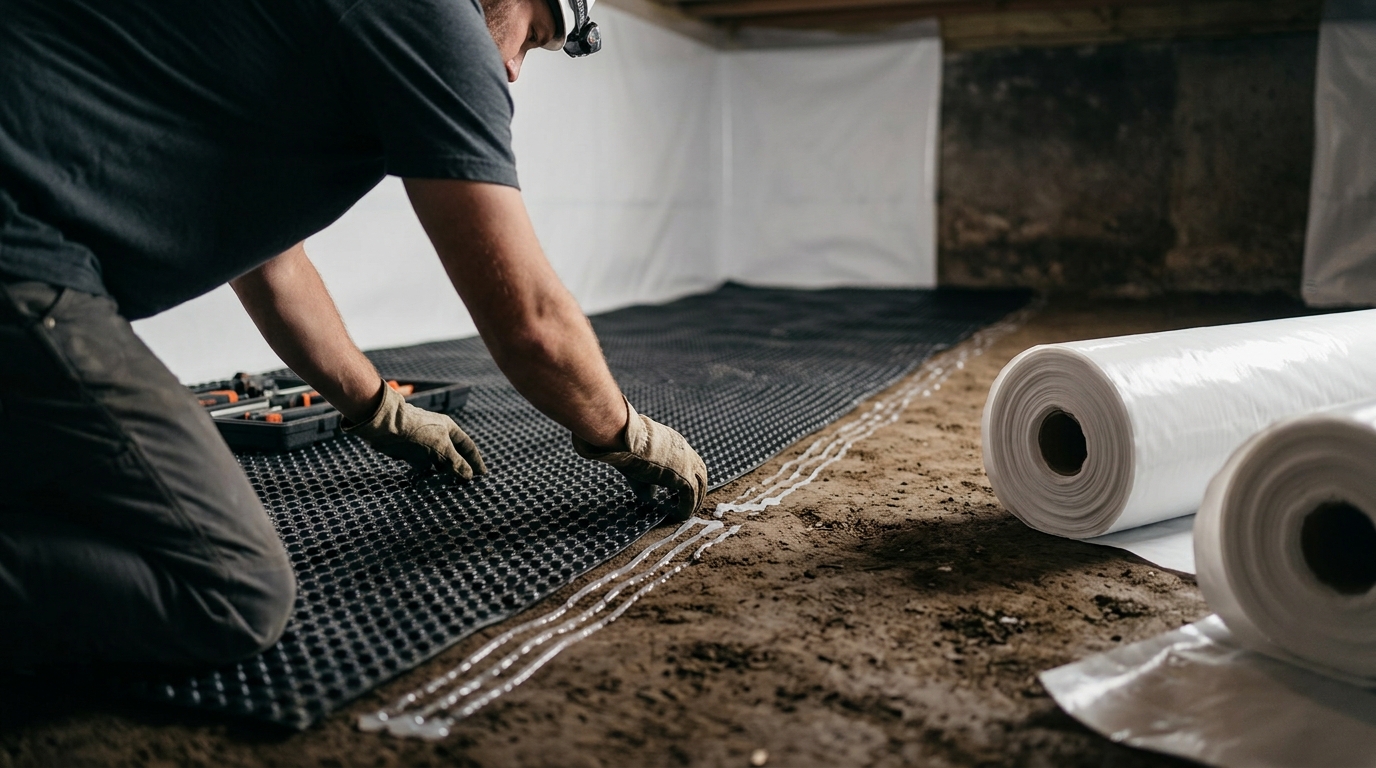
Install the crawl space drainage system before the vapor barrier. This sequence prevents water from pooling under the liner, which would create a hidden reservoir that traps moisture and defeats the purpose of encapsulation. By securing the drainage infrastructure first, you ensure that any water entering the space is actively removed rather than sealed in. This approach is the standard best practice for professional crawl space encapsulation projects.
The Hydrostatic Pressure Risk
Placing a vapor barrier over an uninstalled drainage system creates a significant structural risk. When rain or groundwater enters the crawl space, it flows across the ground. If a continuous plastic sheet is already in place, that water has nowhere to go. It pools under the liner, creating a layer of standing water that exerts hydrostatic pressure against the foundation walls. This pressure can worsen existing cracks or cause new structural movement over time. The liner effectively turns a drainage problem into a structural liability. For additional details, review the .
Moisture Trapping and Mold Growth
A vapor barrier is designed to stop moisture vapor from the soil from entering the crawl space air. However, it cannot remove liquid water that is already present. If you install the barrier before the drainage system, any water that seeps in remains trapped beneath the plastic. This creates a dark, humid environment that is ideal for mold and wood decay. The moisture cannot evaporate because the barrier blocks the air exchange. Consequently, the wood framing and subfloor remain in a state of constant dampness, accelerating rot and compromising the structural integrity of the home. For additional details, review the About Walder Foundation Products.
Installation Sequence Best Practices
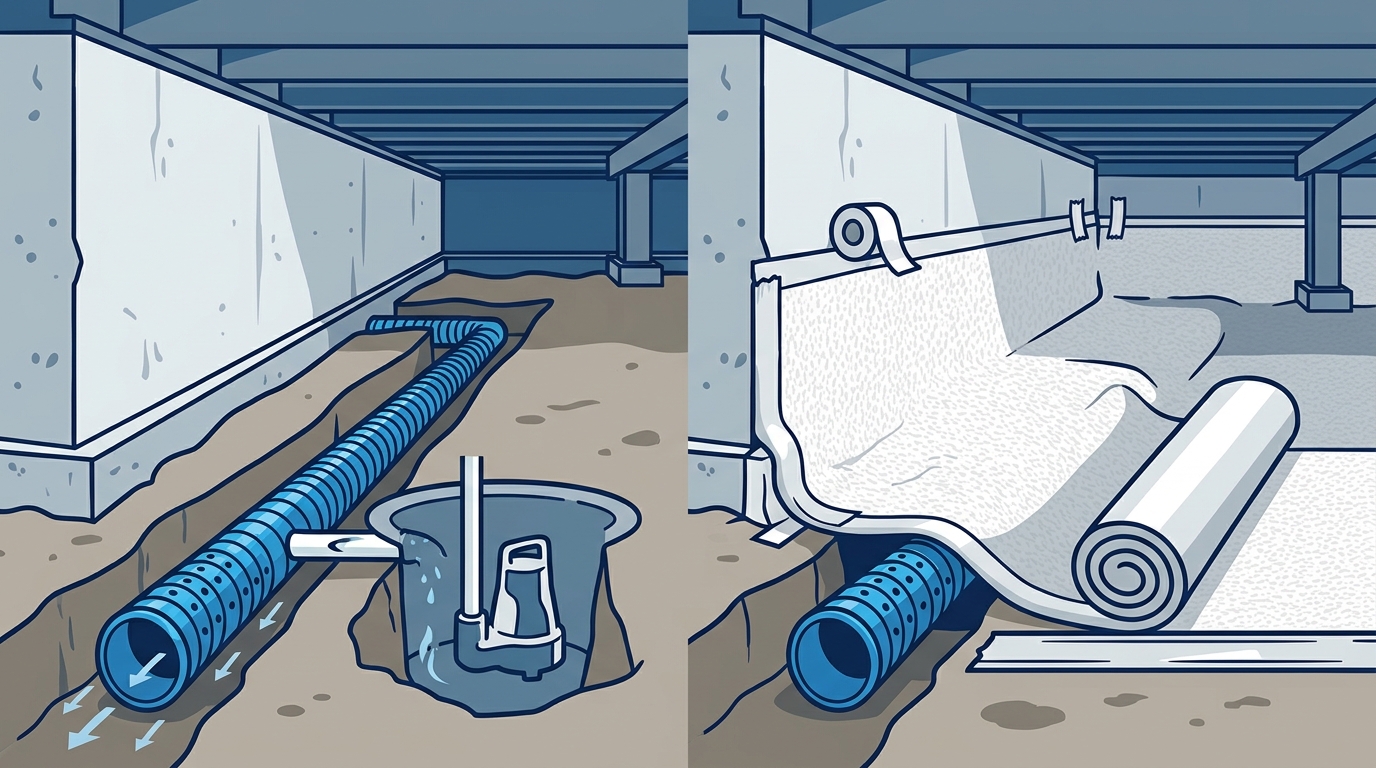
Professional contractors follow a specific order of operations to ensure a successful encapsulation. First, the area is cleared of debris and the ground is graded to slope toward the drainage point. Next, the drainage system, such as a strip drain or sump pump setup, is installed and tested. Only after the drainage is confirmed to be working is the vapor barrier unrolled and sealed. This sequence allows the contractor to verify that water is being actively removed before sealing the space. It also makes it easier to repair any leaks in the drainage line without having to cut through the vapor barrier. For additional details, review the Camel Crickets Silverfish and.
Testing and Verification
Before sealing the crawl space with a vapor barrier, it is critical to test the drainage system. This involves running water through the system to ensure it flows freely to the exterior or into the sump pit. If the system is installed after the barrier, testing becomes difficult and messy. You would have to cut holes in the vapor barrier to access the drainage line, which compromises the seal. By testing the drainage first, you ensure that the final encapsulation is built on a verified, functional foundation. This step is essential for long-term performance and peace of mind.
Long-Term Maintenance and Access
Installing the drainage system first also simplifies future maintenance. Sump pumps and drainage lines require periodic cleaning and inspection. If the vapor barrier is installed first, accessing these components requires cutting and resealing the liner. This is time-consuming and increases the risk of creating new leaks. With the drainage system in place before the barrier, you can design access points or plan for future maintenance more easily. This foresight saves time and money in the long run, ensuring that the crawl space remains dry and healthy for years to come.
Key Takeaways
- Always install the drainage system before the vapor barrier to prevent water pooling.
- Hydrostatic pressure from trapped water can damage foundation walls.
- Trapped moisture under a vapor barrier accelerates mold and wood decay.
- Testing the drainage system before sealing ensures it functions correctly.
- Pre-installed drainage makes future maintenance and repairs easier.
- Follow a clear sequence: clear, grade, drain, test, then seal.
Frequently Asked Questions
Can I install a vapor barrier if I don't have a drainage system?
It is not recommended. Without a drainage system, any water that enters the crawl space will be trapped under the vapor barrier. This leads to standing water, mold, and structural damage. If you cannot install a drainage system, consider alternative moisture control methods, but be aware of the risks.
What happens if water gets under the vapor barrier?
If water gets under the vapor barrier, it will pool and create a humid environment. This can lead to mold growth, wood rot, and increased hydrostatic pressure on the foundation walls. It is crucial to prevent water from entering the space in the first place. according to Best Practices No
How do I test the drainage system before installing the vapor barrier?
You can test the drainage system by running water through it and observing the flow. Ensure that the water moves freely to the exterior or into the sump pit. Check for any blockages or leaks before proceeding with the vapor barrier installation.
Is it possible to install the vapor barrier first and then the drainage system?
While technically possible, it is not best practice. Installing the vapor barrier first makes it difficult to test and maintain the drainage system. You would have to cut holes in the barrier, which compromises the seal. It is much easier and more effective to install the drainage system first.
What type of vapor barrier should I use for a crawl space?
Use a heavy-duty, puncture-resistant vapor barrier, typically 20 mil or thicker. It should be made of a material that can withstand the conditions in the crawl space. Ensure that the barrier is properly sealed at the seams and around any penetrations.